As you may have read in one of my earlier posts, my Mom has a ton of furniture that she's been keeping in storage for me. She moved it all from her storage unit to her garage to save some money, so I've been able to get a much better look at it. This weekend my boy and I put a holding deposit down on a 3 bedroom town home in Issaquah, Washington, so I will now have enough room to show off all of this charming furniture! Most of the pieces look pretty outdated, so I decided to embark on a journey to refinish, repaint, and re-stain many of the pieces, which let me tell you is an enormous job. But before I get ahead of myself, I wanted to focus today's post on my first piece that needed some TLC.
So there I was, gazing into my Moms Garage. I became overwhelmed with ideas and nostalgia. The furniture she saved for me after so many years, was at one time in my grandparents house, or in my house as a child. She even kept my little toy trunk that my sister and I used to store our toys in (which was usually a failure, kids are messy of course!)
But then I suddenly got overwhelmed in more of a...stressed out way. All of these pieces have sentimental value, and I someday want to hand them down to my children as well, so I didn't want to get into this and mess anything up.
"Start small," I kept telling myself.
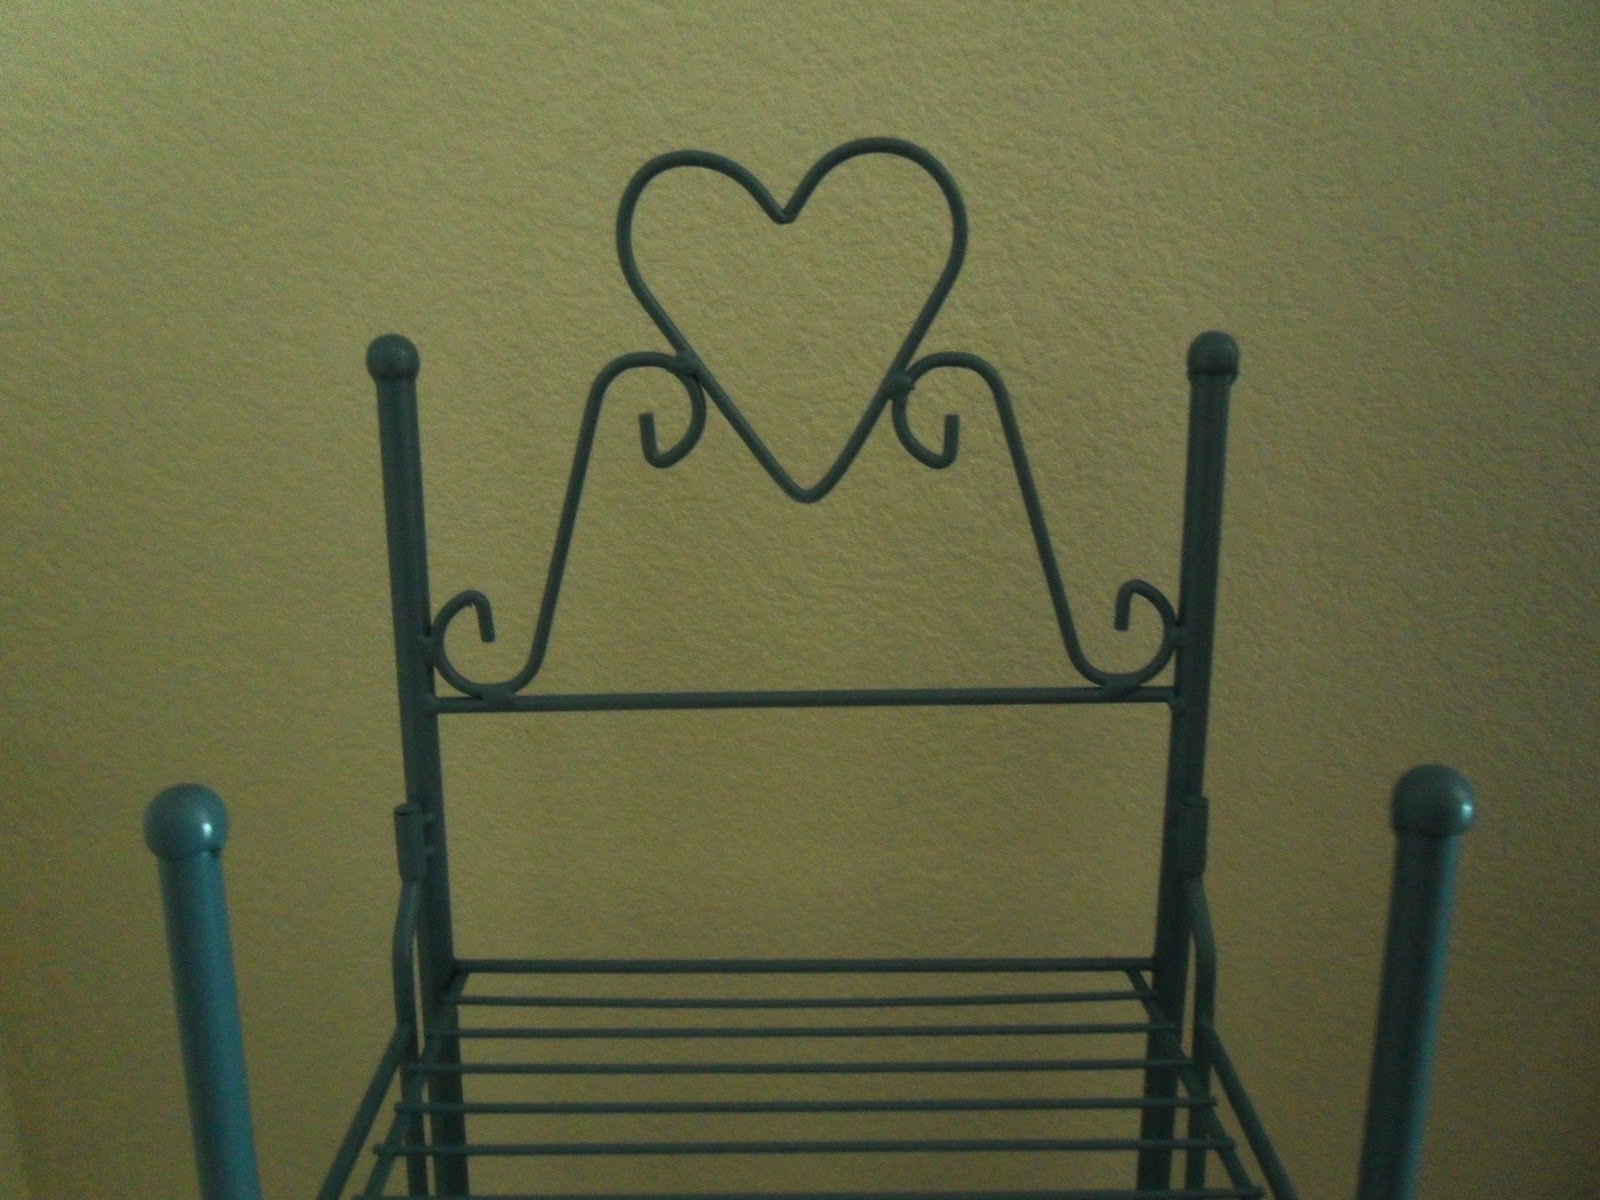
So I grabbed a dusty old wire rack of shelves that used to hold all of my art projects & creations as a child in my Mom's kitchen. Taking on a small wire rack of shelves should be quick and painless; no sanding, just priming and painting, or so I thought.
I went out and purchased Rustoleum spray paint from Orchard Supply, but you can pretty much get it at any hardware store. I just find that my local OSH has the best color selection. I chose a slate blue color, and also bought some primer.

Once I got my work surface covered with a drop cloth, I set my wire rack out and started dusting. This was extremely tedious. All of the curved lines and little nooks and crannies this rack had made dusting quite a task. I tried using damp paper towels and an old rag. Neither seemed to do a better job than the other, so I just kept dusting away
....nearly 45 minutes later...
Finally, done with dusting! After sneezing and whining my way through it, I was finally ready to apply the primer. Here's the shelf after it was cleaned, and before the primer.


Although one can was enough primer, I wish I would have purchased two. As you may know by now, I am extremely impatient, so I didn't want to fuss with waiting to buy another can. So, after the allotted drying time, I then applied the slate blue. At this point, my fingers and fore arms were exceedingly sore and tired from pressing down on that evil little spray can button! I'm thinking I may need to start lifting weights, being sore for the following two days was ridiculous.
Don't judge me.
Side note: I recently purchased an adapter for spray cans at OSH, that makes spray painting a breeze. I'm overjoyed that I found a solution that didn't require a gym.


I waited 24 hours before I brought my newly gorgeous wire rack into the house, to allow it to completely set and dry. One thing I still need to do is seal it, but again I was impatient to get it inside and see how it looked. I'll get to it soon, promise!
Anyone who does this for a living, or does this even for fun I commend you! I'm already onto my first wood piece, so I now understand what kind of work goes into sanding, priming, painting, more sanding, and finishing. Geez! Gets me fatigued just talking about it.
Anyway, there will be more furniture make overs to come, so don't you worry! Baby steps, people! :)
The noob,
-Sierra
No comments:
Post a Comment