Saturday, November 19, 2011

Telephone "Gossip" Table Revamp

Gah! Finally! I have been so antsy to get this post up, & I am so proud of my work. :) I have wanted a "gossip"telephone table since I dunno...forever?! So I was rummaging through craigslist, and found this 1940's gem. She was in pretty bad shape, and was desperate for a makeover. The bottom strip around the drum had gaps, the back of the chair's detail was on the verge of breaking in half, the seat was stained and rock solid, and the desk surface...well, you'll see a little later on. 

PSA: This is a very photo heavy post, but I promise I won't bore you to death. (hopefully)
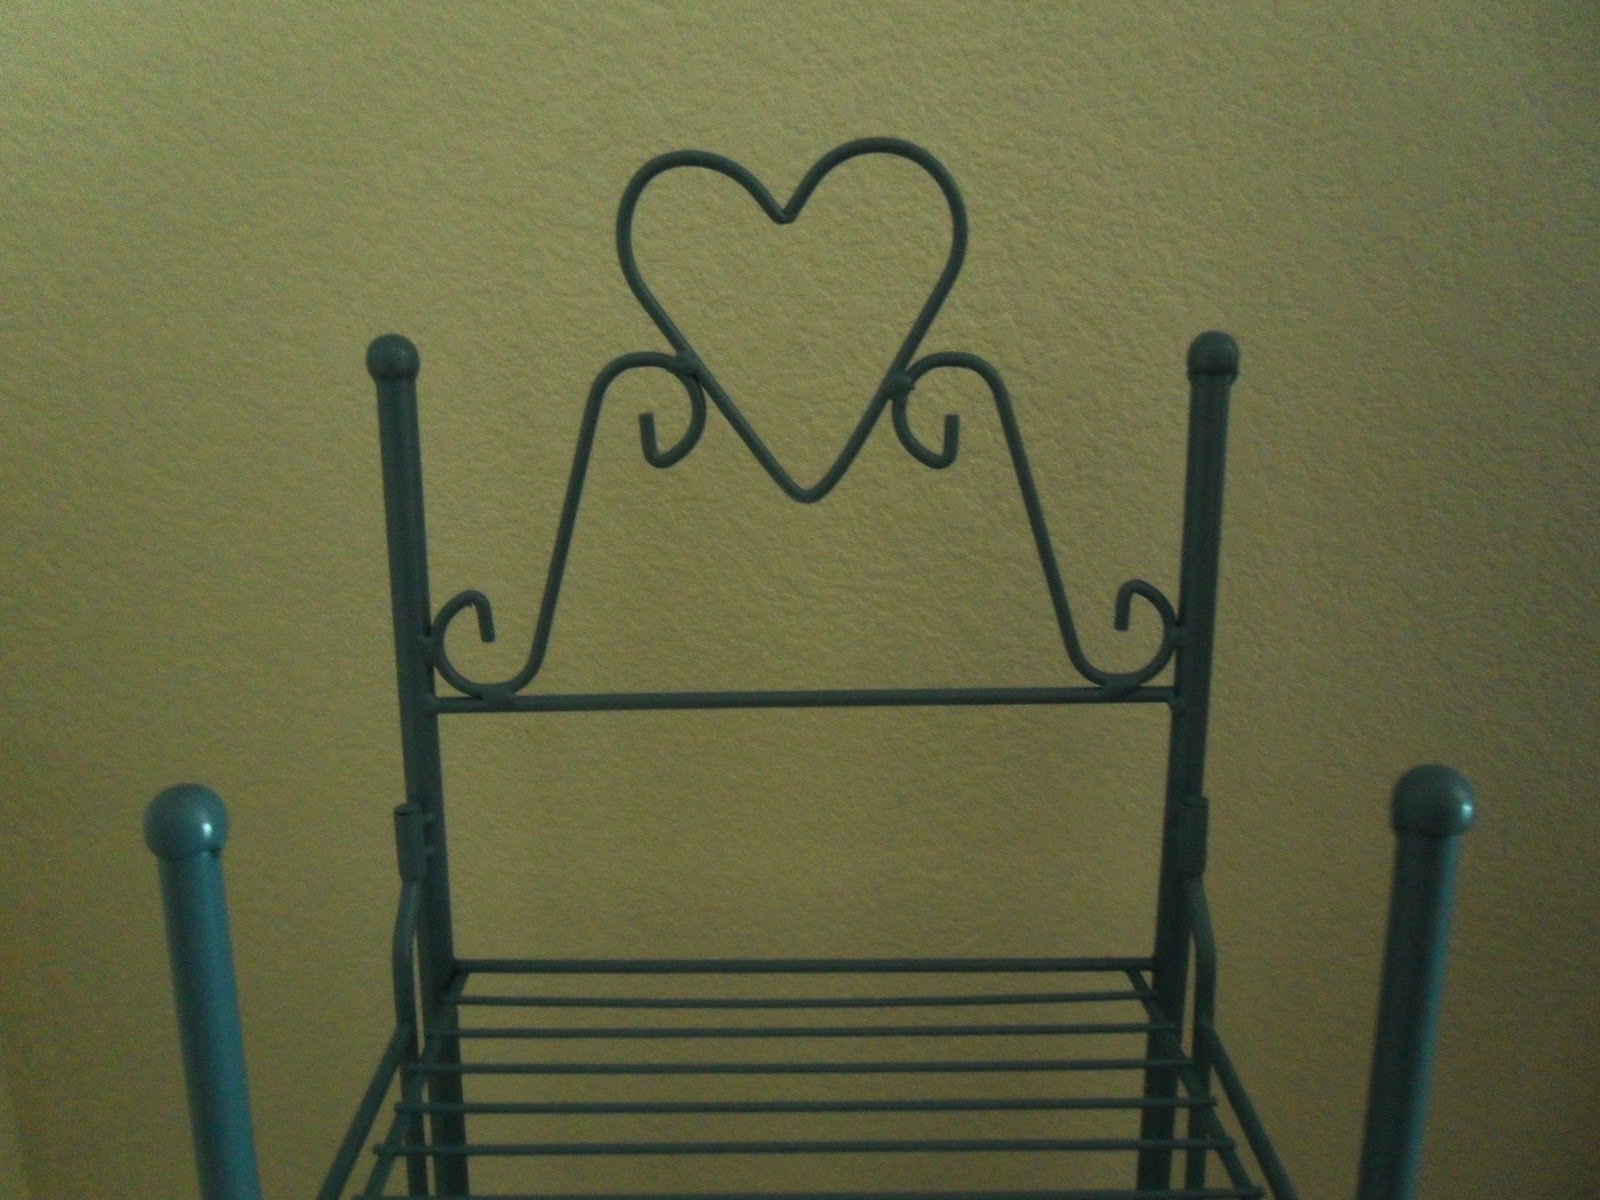
Before

After!
Supplies: 
- Wood filler
-Primer
-Paint color of your choice
-Sand paper
-Foam brushes & clean lint free rags
-Translucent Glaze
-Wipe on poly
-Fabric for the seat
-Polyester stuffing
-Staple gun & staples

I purchased this wood filler at Lowe's for about 3 bones. It says to apply with a putty knife, but my finger worked far better in the tiny cracks and crevices. I especially needed this for the chair's back, since the detail was almost broken in half. I filled, waited for it to dry, then sanded it down to shape with 250 grit sandpaper. I also filled in the bottom band around the drum, since it had some pretty significant gaps.

This photo is before I sanded the filler down to shape.

Primer. I finally used my spray can adapter so I wouldn't cry my way through priming this time! It is amazing, if you use spray paint often go buy one! I got mine at Orchard supply. 

I sprayed that baby down with two coats, giving each coat plenty of time to dry. Like i've said previously, I'm a night owl so I do a lot of this work at night, so letting things dry over night is convenient.


So...yeah. Lets just take a step back here: That's definitely contact paper on the desk surface. I was a little freaked out to discover what lied beneath. 


I used a putty knife to peel back the paper, which was quite stubborn and didn't want to come off in one swoop.


This is the damage. A million tiny dings and a few deep scratches. I had my work cut out for me! I used my sandblaster handheld sanding block with many grits of sandpaper, working my way from low grit to high, in attempt to work those dings & scratches out. 


Which was eventually a success. Back to the priming...


After primer


And this is after the 2nd and final coat of paint. I used Valspar's "grey gull."


A view in the sunshine of the final coat of paint, so you can get a better look at what the true color looked like.

I let my paint dry for around 4-5 days, and then took my 300 grit sand paper and began distressing. I sanded edges that would normally produce wear over the years. On the edges, I sanded down to the wood, but on the desk surface and on random parts of the legs & chair I only sanded down to the primer. 

Then, I whipped out the big guns; Valspar translucent glaze. The shade is brown mocha. 


This was my first time working with glaze, and I am now a huge fan. It's such a beautifully simple way to give any piece some character and definition. Anyway, I poured some of the glaze into a cup, and took a clean foam brush to use for application. This is when you also need the lint free rags. I purchased a big bag of them at Lowe's but you can also just use an old t-shirt. Paint one section at a time, then wipe it off before moving onto the next section. Each piece you glaze on will be unique depending on how much glaze you paint on, how long you let it sit, and how much you wipe off. 

I painted a small section, wiped off directly after, and used light pressure when wiping. My goal here was to darken the grey slightly, and of course give it an antique weathered look. :) 

Helpful tip: When using that foam brush, really work the glaze into any creases/crevices to give it more definition. Don't worry so much about wiping it out, you want those areas to look darker.


(Please excuse my heinous manicure...working on furniture makes it impossible to keep up my nails)


Some prefer to wear gloves during this process, but I don't mind getting a little dirty, so I skipped the gloves. It washes off very easily with soap and water anyway.


I took this photo promptly after I finished glazing. I didn't get a chance to take a photo showing where I distressed the piece, so you can kind of see now where I did it. :)


The original seat had some sort of hideous pleather on it, and the nails were rusted. Those suckers were not coming out! So I said to myself,

"eh, screw it."

I then decided to just re upholster over it. I used burlap fabric that I got on sale at Walmart in the remnants section for $1.50! If you're ever going to be working with burlap, go to Lowe's or Home Depot and purchase it by the roll there because fabric stores rip you off! Jerks.

I used my Dad's staple gun and some polyester pillow stuffing I had lying around to give it some comfort & definition. The previous upholstery job was just the fabric & a board, not comfortable at all. Looking back, I wish I would have been a little more diligent with the upholstery, but none the less I'm still happy with the result. :)

So here it is! More pictures of the end result. I am so proud of this piece, & so happy I didn't completely screw it up like I usually do. 
Go me! 


Here's a little close up of the distressing  I did exposing primer and also wood on the edges


Wait a week in between glazing and using your wipe on poly. Don't ask me why, that's just what the glaze packaging says, so I listened. ;)

So there she is! Hopefully I inspired you to start experimenting with re finishing furniture as well. It's such a therapeutic process for me, and on top of that a lot of fun! Hope you enjoyed reading about it as much as I enjoyed creating this purdy lil' thing.

One proud Mama,
-Sierra


Sunday, November 13, 2011

Black Bean Brownie Experiment

It was a rainy day in usually sunny California, & I was bored. I was in between coats on a piece of furniture I'm re finishing (trust me, there's a post on that to come) & I didn't know what to do with myself! Yes there are many things to do on a rainy day, but all I felt like doing was baking. So I took a look into my pantry, & there wasn't much. I saw some coca powder, & then I saw...

Black beans.

I remembered I had seen a recipe a while back for black bean brownies, so I thought I would play around with that. I followed a bunch of different recipes I found online, and tweaked them & made it my own. I'm still going to play around & test some ingredients in the future, but this batch turned out great! They had a deep chocolate taste, & had a very moist and fudgy consistency. This batch made around 12-14 servings.


The recipe calls for:

-1 can of black beans
-3 large eggs
-3 tablespoons of canola oil
-3/4 cup splenda (you can substitute with sugar if you like)
-1/2 cup coca powder (unsweetened is what I used)
-1/2 teaspoon vanilla extract, pure is best! :)
-1/2 teaspoon baking powder
-1/4 teaspoon salt
-1/2 cup semi sweet chocolate chips

First step which I seem to always forget is to preheat the oven to 375. So if you're following my recipe, go do that. Now!

Once I got my oven preheating, I grabbed my can of black beans, which was 15 oz. Some recipes called for a can of low sodium black beans, but I just had a regular can and thoroughly rinsed them in a strainer to remove the sodium. I then put them in my mini food processor, along with the eggs and pulsed until they were a smoother consistency. They won't get completely creamy, I could still see lots of bean skins, so don't worry about that. Just make sure majority of the chunks were gone.

Following the pulsing, I poured the beans into a large mixing bowl, but left a few large spoonfuls in the food processor. I did this for easier mixing of the dry ingredients.

I then added the canola oil, splenda, coca powder, vanilla extract, baking powder, salt, and the chocolate chips and pulsed a few times until mixed. The chocolate chips didn't really break up, but it gave a more fudgy consistency for the end result. 

Once incorporated, I combined it all into my bowl with the black beans, and mixed together. I then poured it into a nonstick baking pan that was given a spritz of non stick spray, like Pam. 

If you're like me, you may get a little freaked out when you realize how watery the batter is. Don't fret my dears, it's going to be okay. Take a spatula and flatten out the batter in your baking pan, and then sprinkle a few more chocolate chips on top. 

Pop that puppy in the oven and let it bake for around 30 minutes. Keep an eye on it, it will be ready when the edges pull away from the pan. Let that chocolately goodness cool completely before cutting into single servings. This was the hardest part because by now, everyone in you household will be gravitating to the kitchen wondering what that amazing smell is! 

So after waiting a good 20 minutes or so, I cut them into single servings, and then ate about 5 of them because they were SO delicious! That's the reason I don't have any pictures of the pan before I divided them, I was too excited to get my paws on em. I handed one to my boyfriend, and his exact words were, 

"wow, that legitimately tastes like a regular brownie."

Music to my ears! Success. :)

These wonderful morsels are healthy for you too! The beans add some protein, so if you've got some finicky eaters in your household, give them one of these. They won't even know that they've got some good stuff hidden inside. ;) 


Hope you enjoy my take on "healthy" brownies. Well, as healthy as I can get them for now. These taste very similar to the Vita Tops that I buy at health food stores, which are packed with vitamins and fiber, so I'm going to experiment with adding more healthy goodies to this recipe in the future.

Lil' Susie homemaker, over & out!
-Sierra

Monday, November 7, 2011

Metal Shelf Makeover

As you may have read in one of my earlier posts, my Mom has a ton of furniture that she's been keeping in storage for me. She moved it all from her storage unit to her garage to save some money, so I've been able to get a much better look at it. This weekend my boy and I put a holding deposit down on a 3 bedroom town home in Issaquah, Washington, so I will now have enough room to show off all of this charming furniture! Most of the pieces look pretty outdated, so I decided to embark on a journey to refinish, repaint, and re-stain many of the pieces, which let me tell you is an enormous job. But before I get ahead of myself, I wanted to focus today's post on my first piece that needed some TLC. 

So there I was, gazing into my Moms Garage.  I became overwhelmed with ideas and nostalgia. The furniture she saved for me after so many years, was at one time in my grandparents house, or in my house as a child. She even kept my little toy trunk that my sister and I used to store our toys in (which was usually a failure, kids are messy of course!) 

But then I suddenly got overwhelmed in more of a...stressed out way. All of these pieces have sentimental value, and I someday want to hand them down to my children as well, so I didn't want to get into this and mess anything up.

 "Start small," I kept telling myself. 

So I grabbed a dusty old wire rack of shelves that used to hold all of my art projects & creations as a child in my Mom's kitchen. Taking on a small wire rack of shelves should be quick and painless; no sanding, just priming and painting, or so I thought.

I went out and purchased Rustoleum spray paint from Orchard Supply, but you can pretty much get it at any hardware store. I just find that my local OSH has the best color selection. I chose a slate blue color, and also bought some primer. 

Once I got my work surface covered with a drop cloth, I set my wire rack out and started dusting. This was extremely tedious. All of the curved lines and little nooks and crannies this rack had made dusting quite a task. I tried using damp paper towels and an old rag. Neither seemed to do a better job than the other, so I just kept dusting away

....nearly 45 minutes later...

Finally, done with dusting! After sneezing and whining my way through it, I was finally ready to apply the primer. Here's the shelf after it was cleaned, and before the primer.


Although one can was enough primer, I wish I would have purchased two. As you may know by now, I am extremely impatient, so I didn't want to fuss with waiting to buy another can.  So, after the allotted drying time, I then applied the slate blue. At this point, my fingers and fore arms were exceedingly sore and tired from pressing down on that evil little spray can button! I'm thinking I may need to start lifting weights,  being sore for the following two days was ridiculous. 
Don't judge me.

Side note: I recently purchased an adapter for spray cans at OSH, that makes spray painting a breeze. I'm overjoyed that I found a solution that didn't require a gym.


I waited 24 hours before I brought my newly gorgeous wire rack into the house, to allow it to completely set and dry. One thing I still need to do is seal it, but again I was impatient to get it inside and see how it looked. I'll get to it soon, promise!

Anyone who does this for a living, or does this even for fun I commend you! I'm already onto my first wood piece, so I now understand what kind of work goes into sanding, priming, painting, more sanding, and finishing. Geez! Gets me fatigued just talking about it. 
Anyway, there will be more furniture make overs to come, so don't you worry! Baby steps, people! :)

The noob,
-Sierra